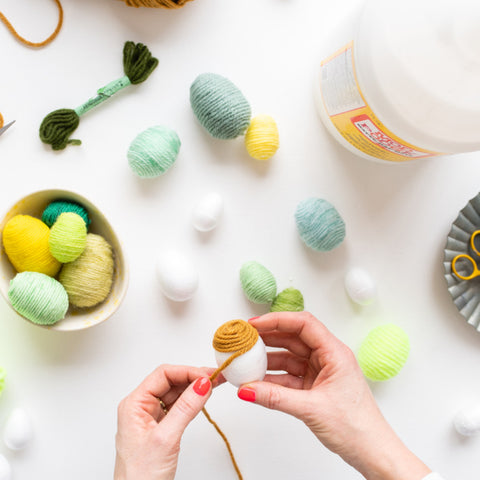
This craft might get a little messy but it’s so fun to do and the perfect decoration to add some lovely, spring colours into your house this Easter! You could add a bit of string and hang them around your house or on your Easter tree, or alternatively, like us, make a cute Easter wreath for your door to invite all your friends and family in. There’s so many options!
What you will need:
Polystyrene eggs we got ours from Home Bargains)
Glue (we used Modpodge but PVA or superglue would work well too!)
A paintbrush
Different coloured yarn of your choice
Sewing Pins (to hold everything in place as the glue dries)
Method:
Start by taking the glue and putting a generous amount on the top of the egg using a paintbrush.
Take the end of your yarn and place it on the top of the egg. Stick a pin through to keep it in place.
Start wrapping the yarn around the egg. The key here is to keep the yarn tight and close together so that there are no gaps, and applying lots of glue throughout so that it is all stuck down properly.
(If it gets loose or begins to slide off, just stick a needle through some of the yarn to hold it together until the glue is dry.)
When you get to the bottom of the egg it may get a little more fiddly. I found it helpful at this stage to gauge how much more yarn I will need and cut it so that I have less to deal with.
Once you have finished wrapping your Easter egg, allow it to fully dry before removing the needles.
Make as many more as you wish, using different shades of yarn. You could even get the family involved and make loads! Then, simply add your finishing touches before putting them up in your home!


