EDIT: Our Crowdfunder campaign is here, and is live until the 7th October!
So I’ve teased you with the information that we’re going to run a Crowdfunder campaign but then I’ve taken ages to tell you all about it! Well I’m blaming the summer holidays for that but I’m back now and ready to tell you all about this slightly terrifying project….
My delay in talking to you about this is definitely partly down to summer holiday madness but I think there’s also something in me that is nervous to put this out there into the world. It feels scary, I feel like we’re making ourselves vulnerable. So I think I’ve been avoiding it. But I know this is the right thing to do, and it’s the right next step for our business. So I’m feeling the fear and going for it anyway!
In short, we want to run a Crowdfunder campaign to raise £150k to fund the next part of the growth of our business.
I know this might sound weird to some people, like we're asking people to donate to us like we're a charity or something - so I've answered what i think will be the most common questions below...
What is a Crowdfunder?
A Crowdfunder is a platform where people can support creative projects, like ours, by pledging money in exchange for rewards. It's a way for us to raise funds directly from our community and bring our ideas to life. By contributing to our campaign, you're not just donating—you're helping us grow, and you'll receive exclusive rewards and other perks as a thank you!
I’ve had this idea for a while now, and have known we’ve needed an injection of funds to grow the business for even longer. I’ve been massively inspired by Mev and the team at Glosters Pottery who have grown their brilliant business using Crowdfunder campaigns over the last few years.
Why do you need extra cash, can’t you just use your profits to grow the business?
We have massive ambitions as a company. We could just cap our dreams and carry on as we have been doing, growing slowly but surely. But we believe we can take our form of crafting and self care tools to a global audience, we know that when people find our product that they love it, and we want more people to discover us! Businesses like ours often need to raise extra money to grow—whether it's to develop new products, expand into new countries, or increase production (I’ll talk about our plans to grow in the next section).
While profits from the business can help, they’re usually reinvested into day-to-day operations, like paying staff or buying materials. Growth requires a significant boost in funds, and it can be hard to save up enough just from profits. That’s why we’re looking to outside financing, like crowdfunding, to get the capital we need to take the next big step.
We could have gone down the route of looking for angel investors or big banks, but I wanted to see if we could keep this ‘in-house’ to start with and see if we can raise what we need from the people who know and love us and believe in the product.
What do you want to do with the money?
There are three main things we need to finance to be able to grow.
-
New Product Development We’re currently only able to bring a few new products to life every year, but we have designs for so many more! We would use the money to bring a whole new range of innovative crafting and making products to life. Using the money to develop our ideas and invest in initial stock of these new products.
-
Product Development Team To be able to bring the above products to life not only takes the capital to buy the stock but also the capacity to design them and get them to the point where we can get them made. We’d use the money to finance extra freelance workers to help us develop these products.
-
Marketing Once we have these new products, we need to let the world know about them so we would use some of the funding to pay for a trade show, and extra funds for digital marketing of our products.
What rewards are you offering?
So many rewards! Lots of things that are limited edition or one off events, never to be repeated!
I’ll be going into loads more detail over the next couple of weeks, but here’s an overview of what we intend to offer…there are items from £5 to over £1000 so something for everyone.
- Baby Block Pattern & Tutorial
- Lots of other exclusive digital patterns TBC
- 1:1 Zoom with Chloe to discuss business, social media or whatever you want!
- Reissue of an updated version of our We Stayed Home and Adventure Awaits kits
- Limited Edition Sweatshirts & Baseball Caps (Very excited about this one)!
- A Christmas Punch Needle Workshop
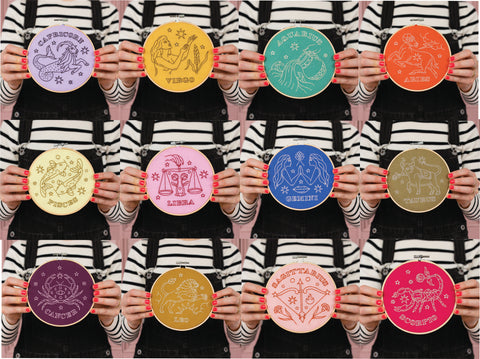
- Reissue of our popular large laser cut wooden board kits
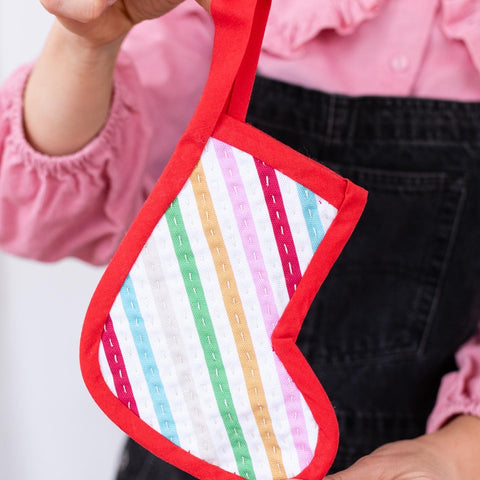
- Various workshops in 2025 including Kumihimo, Punch Needle and Pot Holder Making
- Corporate Workshops - Get us in to your workplace!
- VIP Studio Tour and Experience
- Luxury Craft Retreat in Feb 2025 at the most amazing venue!
- 1 Year of Mentoring & Encouragement Calls with Chloe
Can you tell us more about these big ambitions you have for the business?
We are on a mission to bring crafting and making to a mainstream audience, to those millions of people who are tired of spending hours scrolling their phones, but haven’t been handed down the skills of crafting and making. Who don’t even realise that crafting and making could be a great way of relaxing and finding a bit more balance in life.
We are building a powerful craft brand and our aim is to be the online destination for modern makers, who have discovered the positive mental health effects of having a creative, practical hobby and a way of detaching themselves from their screens.
We want to introduce millions of people to mindful, tasteful crafts, items that they want to make and want to have in their home. We think that alot of craft products in the market are outdated, old fashioned and badly designed, we’re aiming to fill the gap for millions of people who care about design and aesthetics and want to make and craft as a hobby.
This looks practically like hundreds more large stores stocking our kits, in the UK, US and abroad, and thousands more people discovering our kits from our own website and joining the Cotton Clara community.
We want to do all of this in a sustainable way, mindful of the planet we live in and the finite resources we are managing as humans, so our products will always be in recyclable packaging, and be designed to keep and treasure rather than being a disposable commodity like a lot of existing craft products. We want to eliminate plastic wherever possible and wherever it makes sense to do so.
To summarise, on a surface level we’re developing a more curated, modern craft business that appeals to an evermore style-conscious generation.
But at a much deeper level we’re a wellness company, providing practical, accessible, meditation and mindfulness tools to a generation that are screened out, more anxious than ever, and need all the help they can get to stay mentally healthy.
When is it all happening?!
We’re going to launch the Crowdfunder (i.e. you’ll be able to start pledging for rewards) on Friday 6th September, and it will stay open for 2 or three weeks. It will all be happening from the Crowdfunder website at this link https://www.crowdfunder.co.uk/p/cotton-clara---big-dreams
]]>