
Let 
As the sun shines brightly today and we all get excited about the spring and summer to come, it feels like the perfect time to share this little project with you!
We have sourced these gorgeous little bunny hoops, and in this tutorial we're showing you how to use scraps of fabric to make them into the cutest spring/Easter tree decorations! Find them here on the shop!

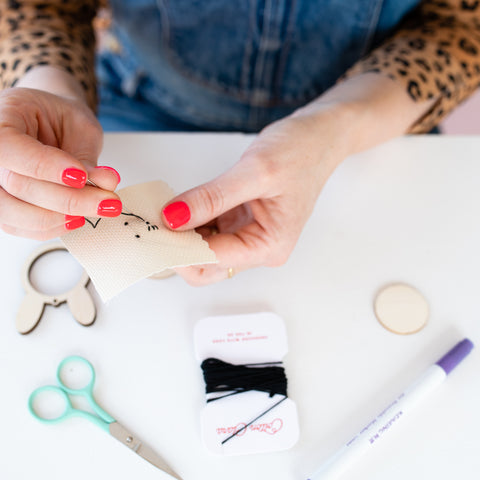
To make a rabbit decoration you'll need some 6cm squares of cross stitch fabric (aida) I used 14 count aida. You could also use any kind of cotton, maybe felt? For this you'd need to just draw on the rabbit face with an erasable embroidery pen. You'll also need some glue, I just used a simple craft glue. Some thread and a needle, and some twine to hang.

Using the chart at the bottom, stitch your eyes and nose onto the cross stitch fabric. I used 3 strands of black embroidery thread. Tie off your thread at the back and then take the smaller wooden disc. Place your fabric in between the rabbit hoop shape and the smaller wooden disc and push the disc into the back of the hoop. It should fit nice an snuggly. Is that a word?!

Now trim the excess fabric from around the back of the hoop, leave a roughly 0.5-1cm trim. Now glue the fabric to the back of the small wooden disc. Once this has taken, add some more glue to the back of the rabbit hoop and place the bigger disc on the back. You'll need to press down and hold the pieces together until they stick, or you may want to use a couple of small pegs or clips to secure them until the glue is dry.
All you need to do now is thread the twine through the hole at the top of the rabbit and hang!
