

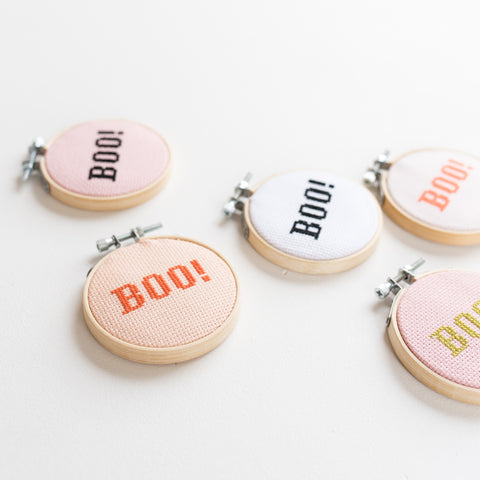
I thought I'd share a super quick and easy Halloween craft with the free Boo! pattern! I can see loads of these hung on an indoor 'Autumn' tree, stitched in all different shades of green, orange, pink and black!
Cross Stitch is a really easy skill to pick up and it's seriously addictive when you do. Unlike lots of our printed embroidery kits, with cross stitch kits the pattern is generally not printed onto the fabric, you build up the design by copying the pattern onto the fabric, cross by cross.
You will need:
- a 3 inch/9cm Embroidery Hoop
- Some 14 Count Aida (Cross Stitch Fabric)
- Coloured threads
- Tapestry/Cross Stitch Needle
- Backing and padding for the finishes hoop

Start by downloading the free pattern from the link above. You'll see there is a red cross marking the centre of the design. Start with one of the stitches closest to the middle of the cross. You'll need to make your first stitch in roughly the middle of your hoop.
Each length of embroidery thread has 6 strands, separate them and thread your needle with 2 strands. Start stitching your design, remembering to tie off each your thread after each section of the design, so that you don't pull stray threads through.
You'll need to back your hoop when you've finished. We provide a custom size cardboard backing disc in all of our kits but you can make your own by tracing round the inside of the smaller embroidery rings, onto a cereal box or delivery box.
Trim any excess fabric around your hoop (to around 2 or 3 cm) then place some padding in the back of the hoop ( you can use a piece of felt, or wadding) then fold over the fabric and push in the cardboard disc.
Let us know if you stitch this project!


